Ya hemos visto cómo configurar clientes en GoCardless, comenzar a cobrarles pagos y, posteriormente, administrar webhooks para tomar medidas automatizadas cuando sucedan cosas en la cuenta.
Combinado con el panel de control, ya dispones de los elementos esenciales para crear una potente integración. Puedes brindar acceso al panel de control a compañeros de la empresa, como, por ejemplo, del equipo financiero o de ayuda al cliente, para que puedan hacer un seguimiento de pagos a través de nuestra interfaz.
Poner el servicio en funcionamiento real
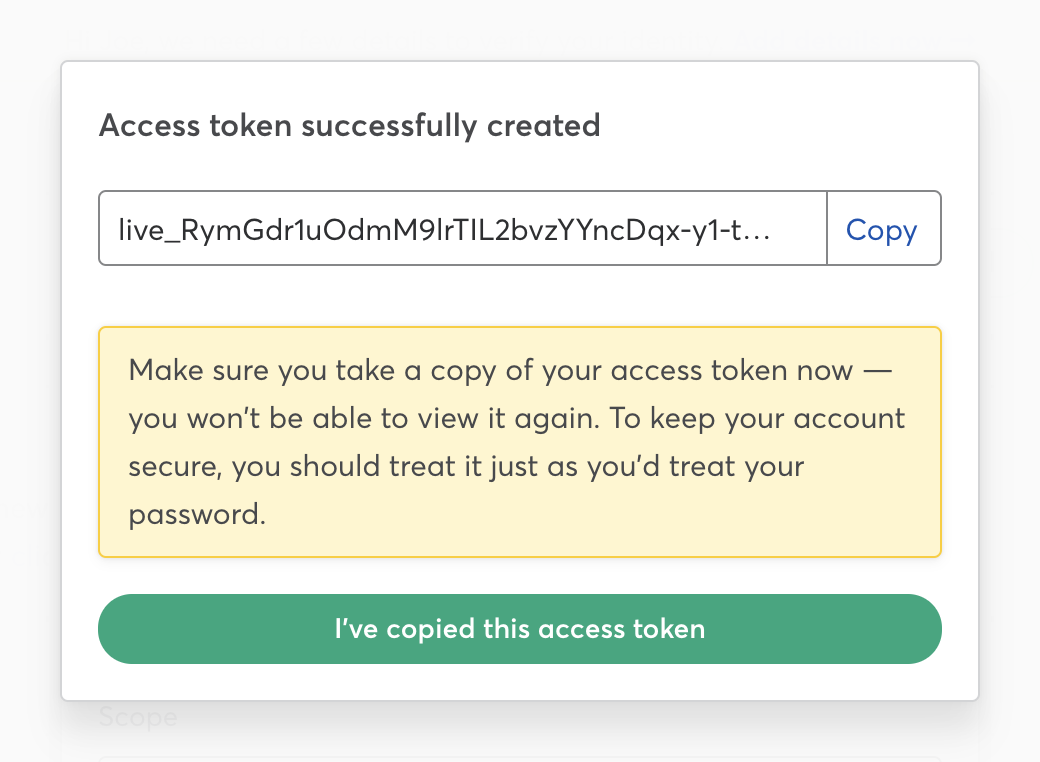
Una vez que hayas probado completamente la integración en la cuenta de pruebas, estarás listo para poner el servicio en funcionamiento real; solo tienes que registrarte en la cuenta real. Una vez configurada la cuenta real, crea un token de acceso y, a continuación, cambia el entorno y el token de acceso en el código.
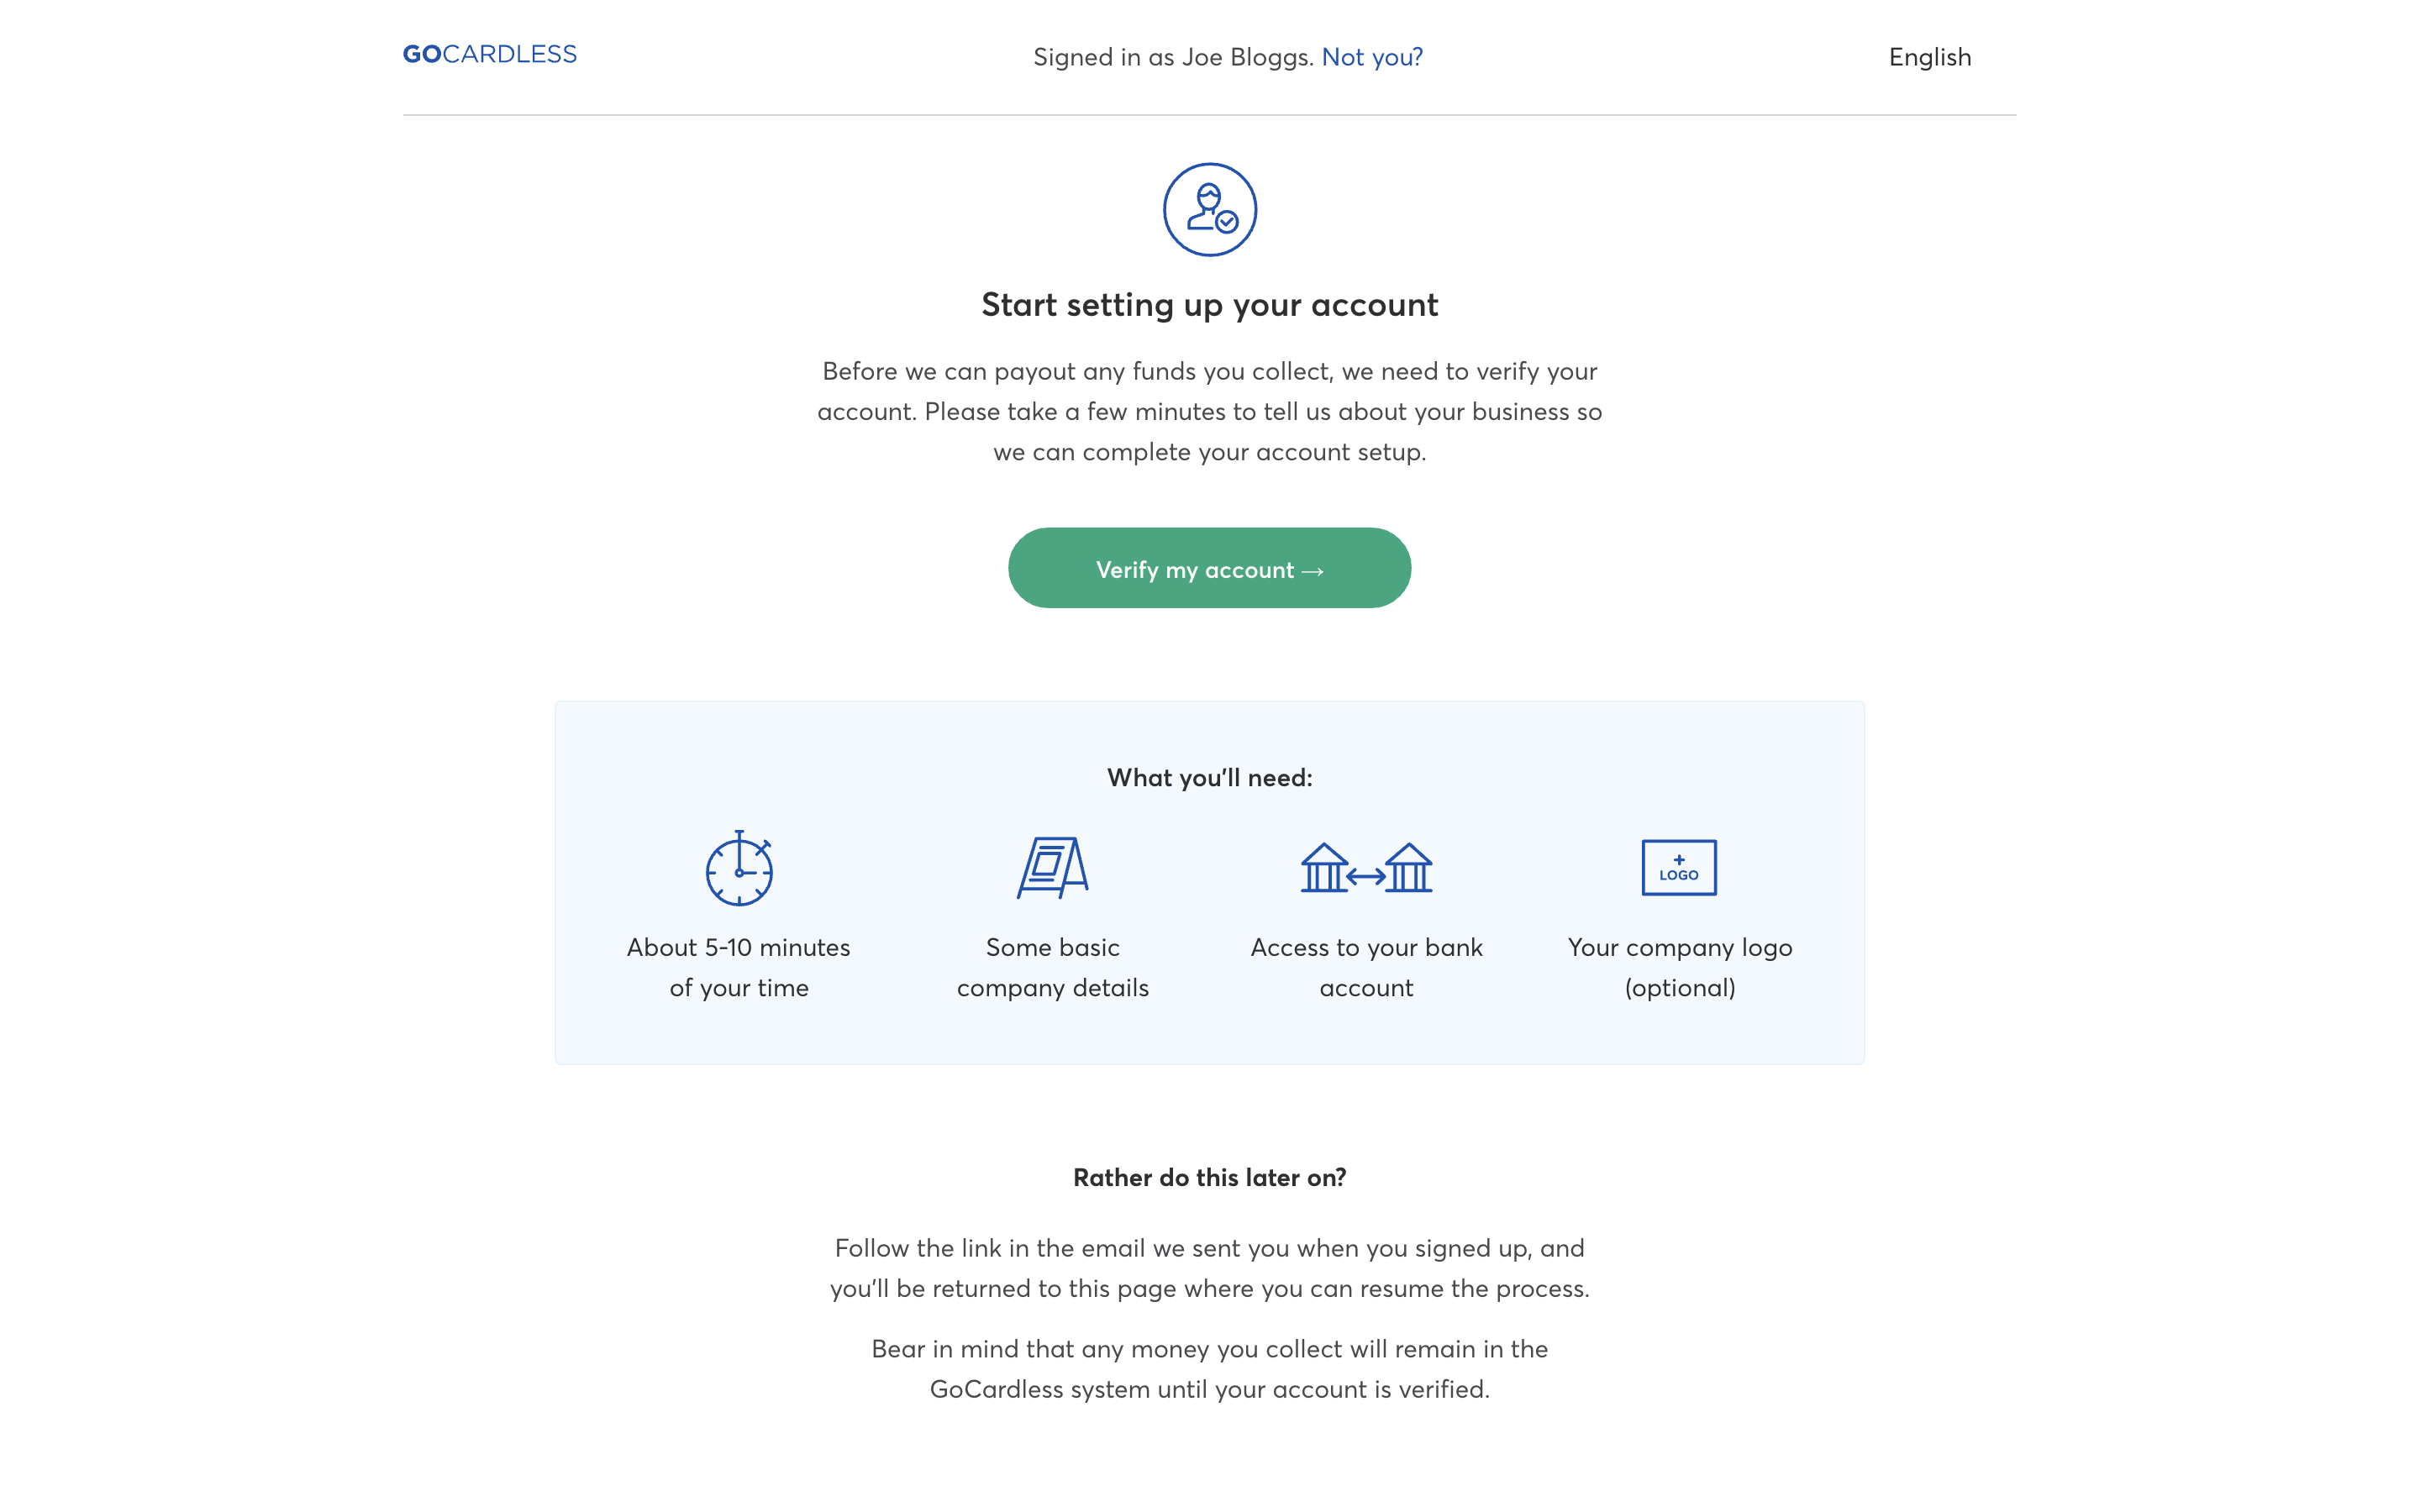
También tendrás que agregar la información bancaria y proporcionar algunos datos sobre el negocio para que podamos verificar la cuenta; no podrás recibir desembolsos hasta que hayas hecho esto.
La cuenta de pruebas permanecerá activa y es ideal para probar cualquier ajuste que desees realizar en la integración.
Los pasos siguientes
Ya has llegado al final de la guía de introducción; aquí tienes algunas ideas sobre lo que podrías hacer a continuación:
- Examinar la referencia de la API para profundizar más en lo que puedes hacer con la API
- Crear tus propias páginas de pago para ofrecer una experiencia de marca totalmente blanca (tendrás que ponerte en contacto con nosotros para realizar la configuración)
- Conectarte con la cuenta de GoCardless de otros usuarios y cobrar pagos a su nombre con la API OAuth