Nous avons à présent vu comment configurer des clients finaux sur GoCardless, commencer à collecter des paiements sur leur compte bancaire et gérer les webhooks pour entreprendre des actions automatiquement lorsque des opérations sont effectuées sur votre compte.
Avec l'aide du tableau de bord, vous disposez déjà des éléments de base d'une intégration performante. Vous pouvez donner accès au tableau de bord à vos collègues dans votre société - aux équipes de la finance ou de l'assistance clientèle par exemple - afin qu'ils puissent effectuer le suivi des paiements par le biais de votre interface.
Mise en service
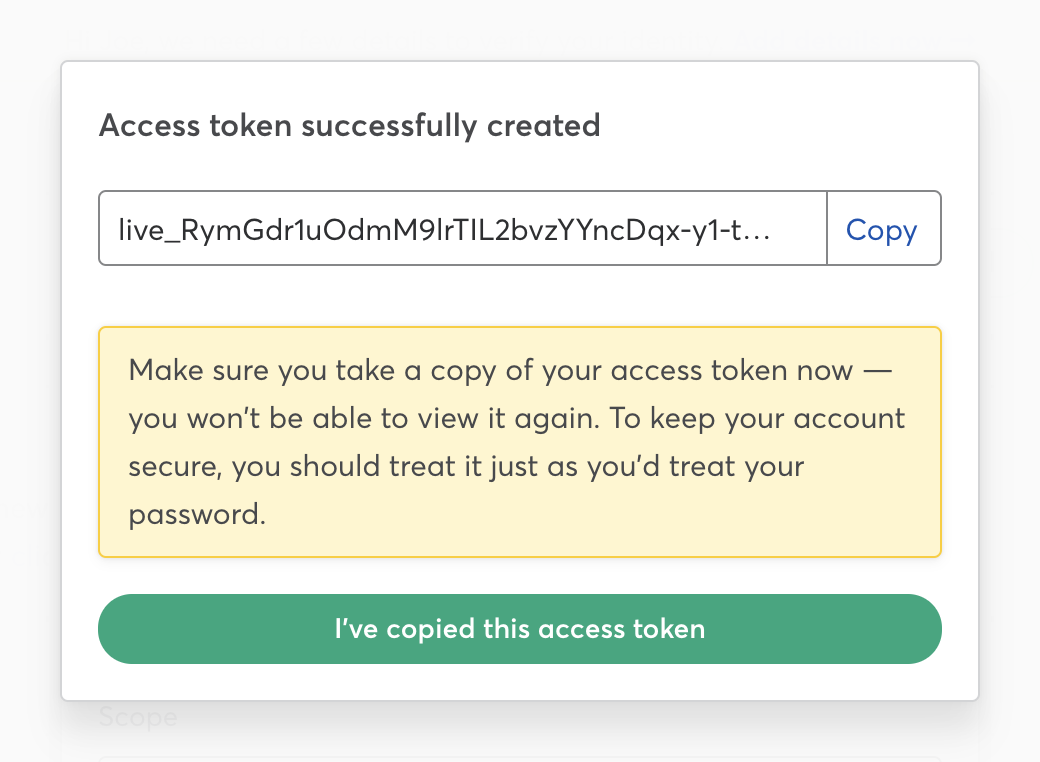
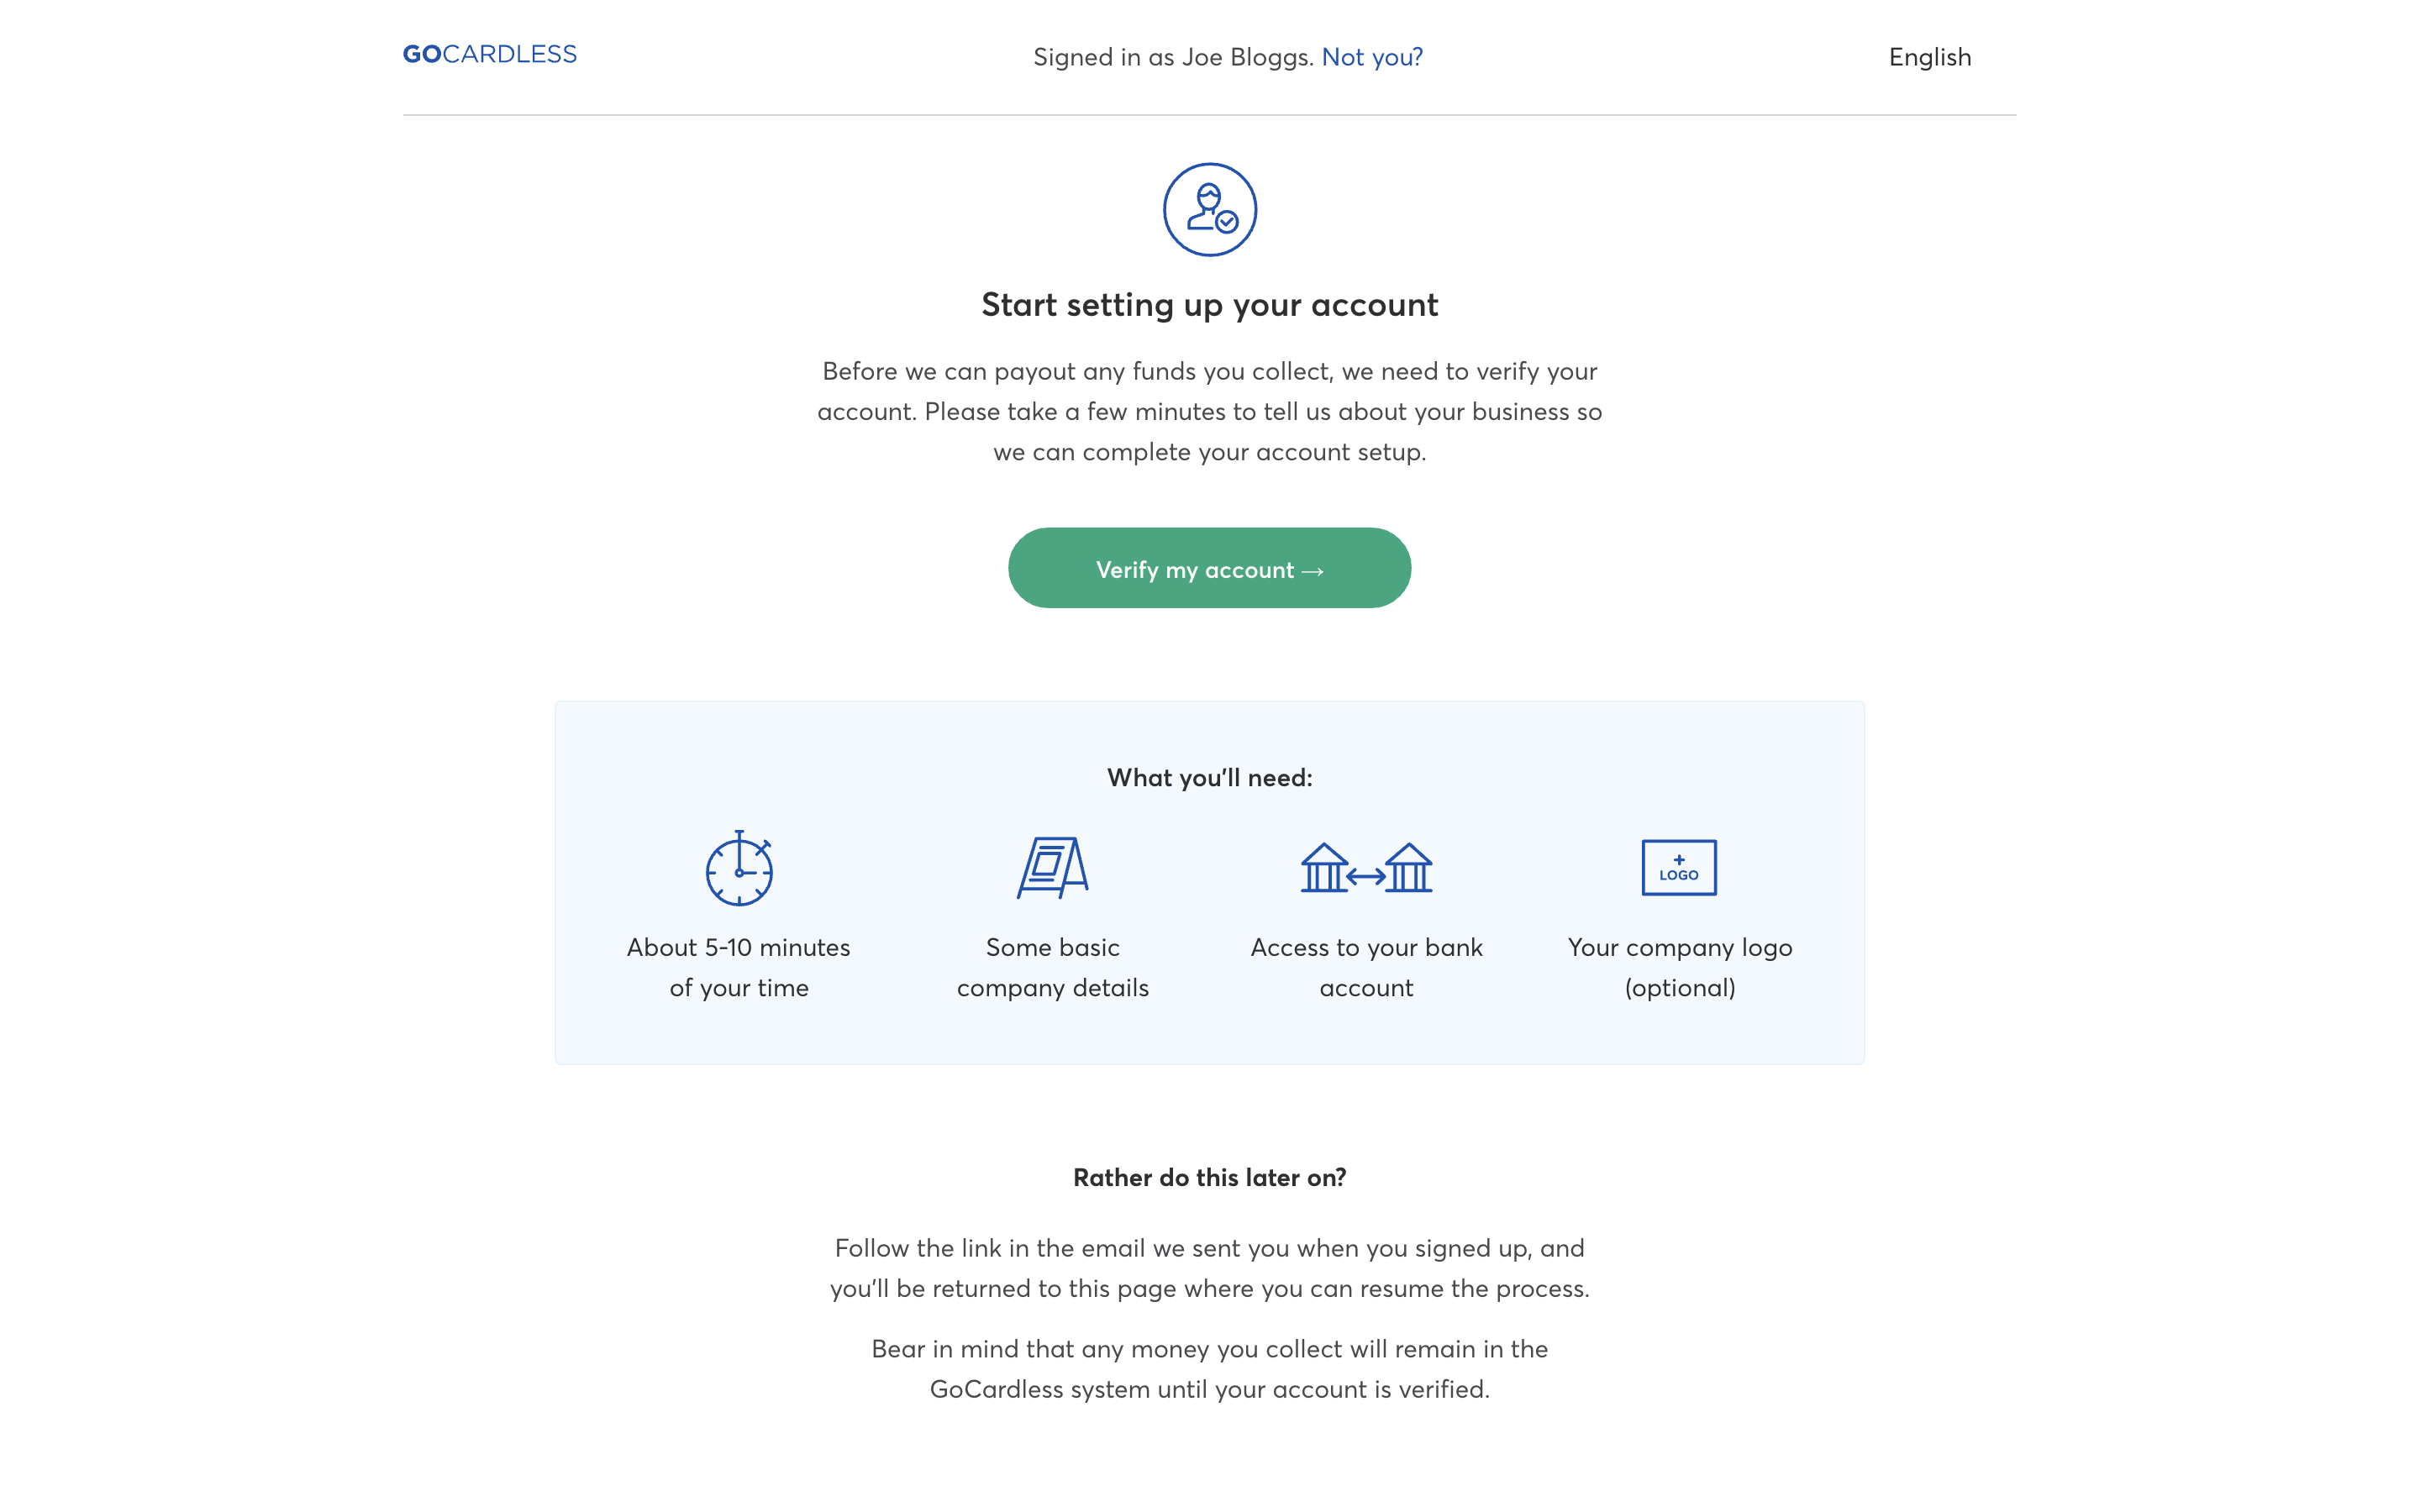
Lorsque vous avez testé entièrement votre intégration dans l'environnement sandbox, vous êtes prêt à la mettre en service - inscrivez-vous pour accéder à votre compte actif. Une fois votre compte actif configuré, créez un jeton d'accès et changez d'environnement et de jeton d'accès dans votre code.
Vous devrez ajouter vos coordonnées bancaires et fournir des informations sur votre entreprise afin que nous puissions vérifier votre compte. Tant que vous ne l'aurez pas fait, vous ne recevrez pas vos versements.
Votre compte sandbox restera actif. Celui-ci est idéal pour tester les modifications que vous souhaitez apporter à votre intégration.
Vos étapes suivantes
Nous sommes à présent arrivés à la fin de notre guide de démarrage. Voici quelques idées de ce que vous pourriez faire ensuite :
- Parcourir la référence de l'API pour en savoir plus sur ce que vous pouvez faire avec l'API
- Créer vos propres pages de paiement pour une expérience de marque blanche intégrale (vous devrez prendre contact pour commencer)
- Vous connecter au compte GoCardless d'autres utilisateurs et collecter des paiements pour leur compte à l'aide de l'API OAuth